For more information for the selection tool, please click here
SELECTION TOOLS
Learning how to select areas of an image is of primary importance when working with Adobe Photoshop --- you must first select what you want to affect. once you've made a selcetion, only the area within a selection can be edited; areas out side the selection are protected from the change.
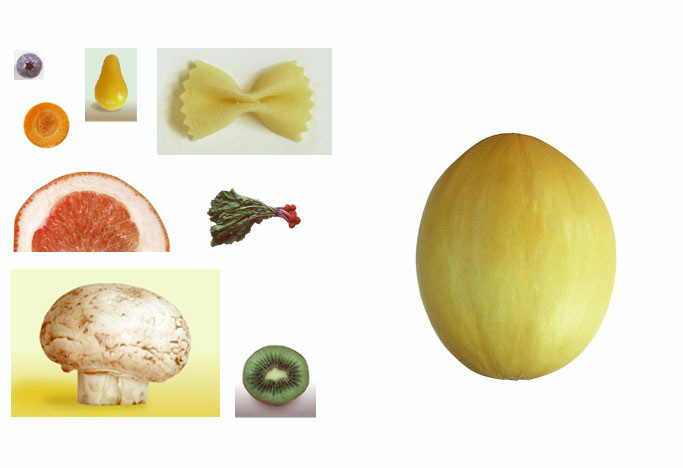
This image will serve as our source.
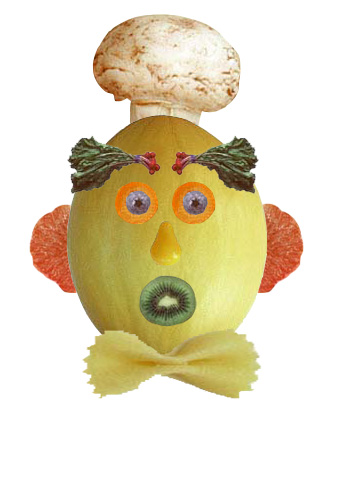
And this will be the result.
~Rectangular Marquee Tool~
- Click the rectangle marquee tool in the toolbox.
- drag it diagonally from top-left to the bottom right corner of the yellow fruit to create a rectangular selection.
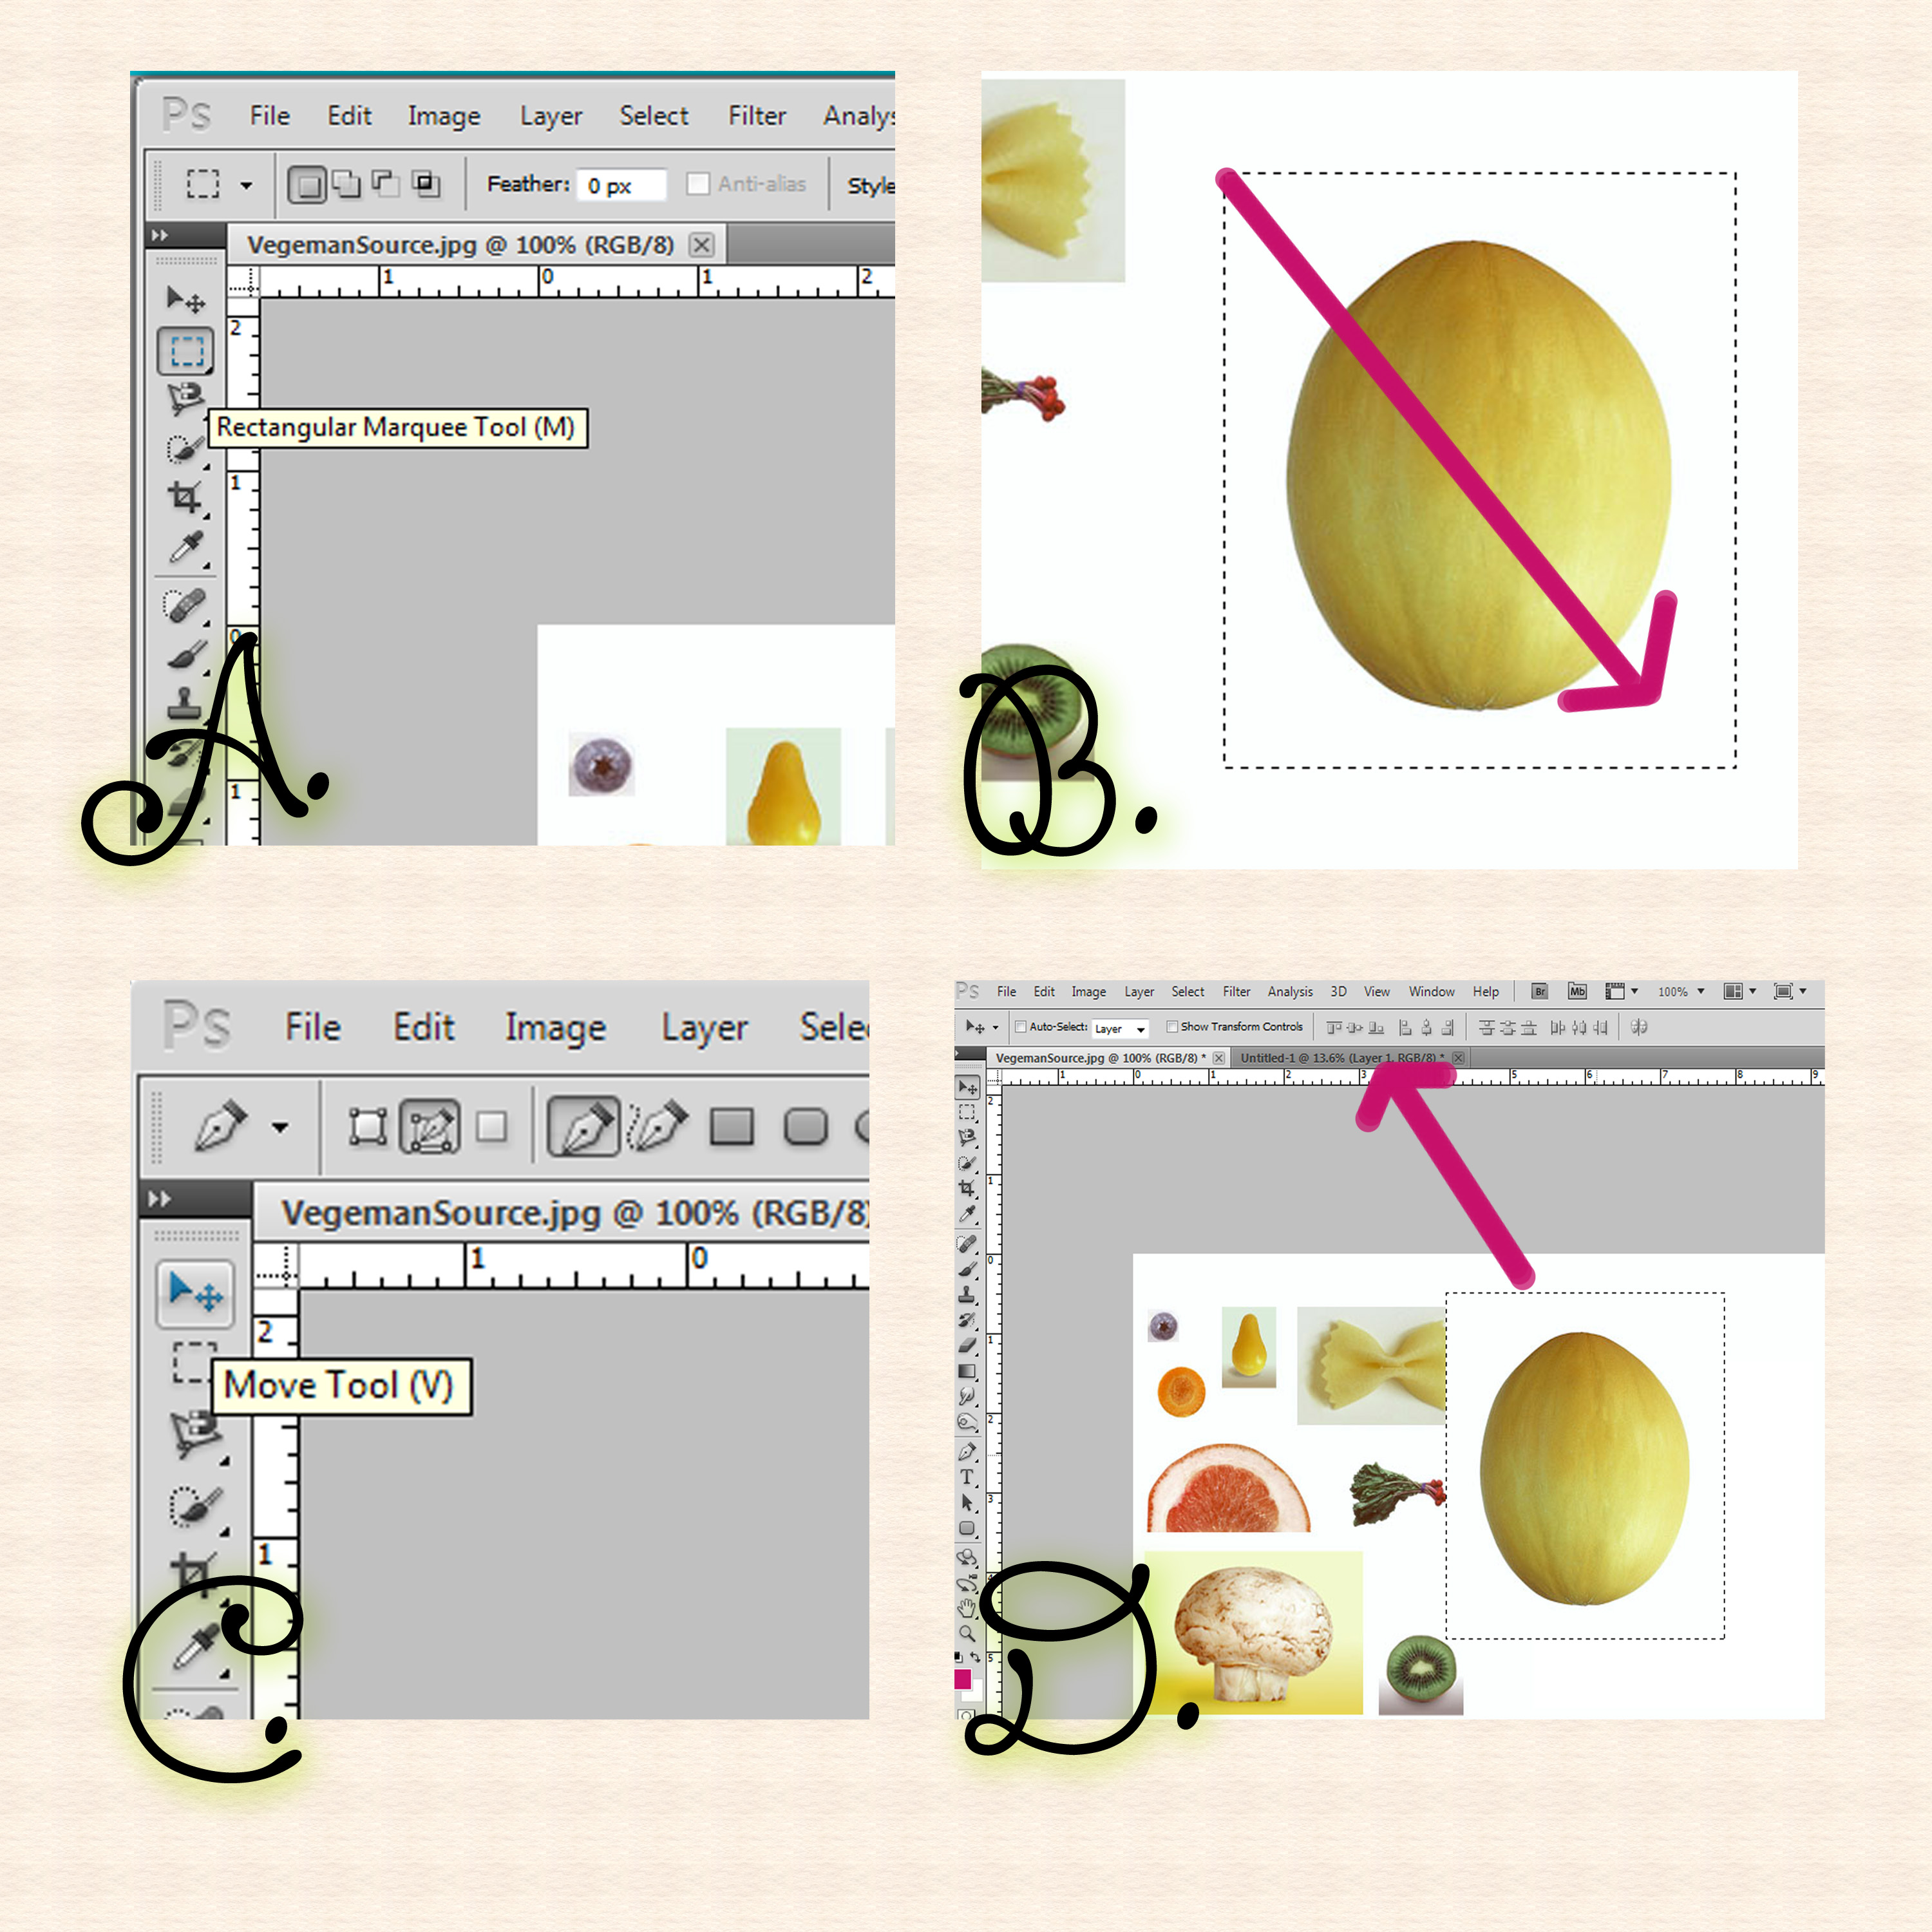
- Click on move tool then now drag the selection to your canvass.
- Deselect the selection.
~Elliptical Marquee Tool~
- Click the elliptical marquee tool in the toolbox.
- drag it diagonally from top-left to the bottom right corner of the blueberry to create a elliptical (circular) selection
TIPS:
- you can use zoom tool to make your work easier.
- to make a circular selection, just hold shift key while dragging for making selection.
- click on move tool then drag the selection to your canvass.
- Repeat step 1-3 for the carrots.
- Now then select the layer of the blueberry, and using the move tool, drag it up on the carrot slice. make sure that the layer of the blueberry is in front.
- now then merge the layer of the blueberry and the carrots.
- after all, duplicate the merged layer in order to produce a pair of eyes.
- use step 1-3 for the kiwi.
~Magic Wand~
- click the Magic wand icon in the toolbox (you could right click so you could see the magic wand and quick selection).
- use this tool for the pear. click on a pear so that it will select similar colors. press and hold shift key then click again on the pear that is not selected before.
- now the selection is done, use move tool to transfer the selection to your canvass.
- then deselect.
~Lasso Tool~
- LASSO TOOL AND POLYGONAL LASSO TOOL
- click Lasso Tool in the tool box. we will use this tool for the bow tie.
- start with the edges with curve. just follow its edge until you reach the corner of the zigzag edge. just hold (left-click) to make a free-hand selection.
- now we will use the polygonal lasso tool for the zigzag edges. don't release the mouse button until you press alt key. after pressing alt key, now you could release your mouse button (but do not release alt key!) the tool you are using now is polygonal lasso tool!
- just click along the edge. when you reach another corner, don't release your mouse button, just hold, release alt key. you are now using lasso tool again.
- just repeat step 1-4 for the another side.
- MAGNETIC LASSO TOOL
- This is the easier way, by using magnetic lasso tool. as what we said for its definition, it will select the similar color, but only the edge of a part of acertain image.
- just click any point on the edge of a bow tie.
- just move your mouse according to the shape of the bow tie until you reach where you begin at. Trace the outline.
- if you do not want the selection by this tool, just undo it and click right where you want to include your selection.
- double-click the corner where you begin to make a selection.
|
Parts of the Toolbar
|